Bread Machine King's Hawaiian Rolls: Healthier Homemade Recipe
Imagine sinking your teeth into a roll so soft, so fluffy, and so subtly sweet that it transports you straight to a sun-drenched Hawaiian beach. Now, imagine making those irresistible rolls right in your own kitchen, with minimal effort and the added benefit of knowing exactly what goes into them. This is the magic of homemade
bread machine sweet Hawaiian rolls, a healthier, more wholesome alternative to the beloved store-bought King's Hawaiian variety. Say goodbye to unknown additives and hello to the pure, comforting aroma of freshly baked bread filling your home.
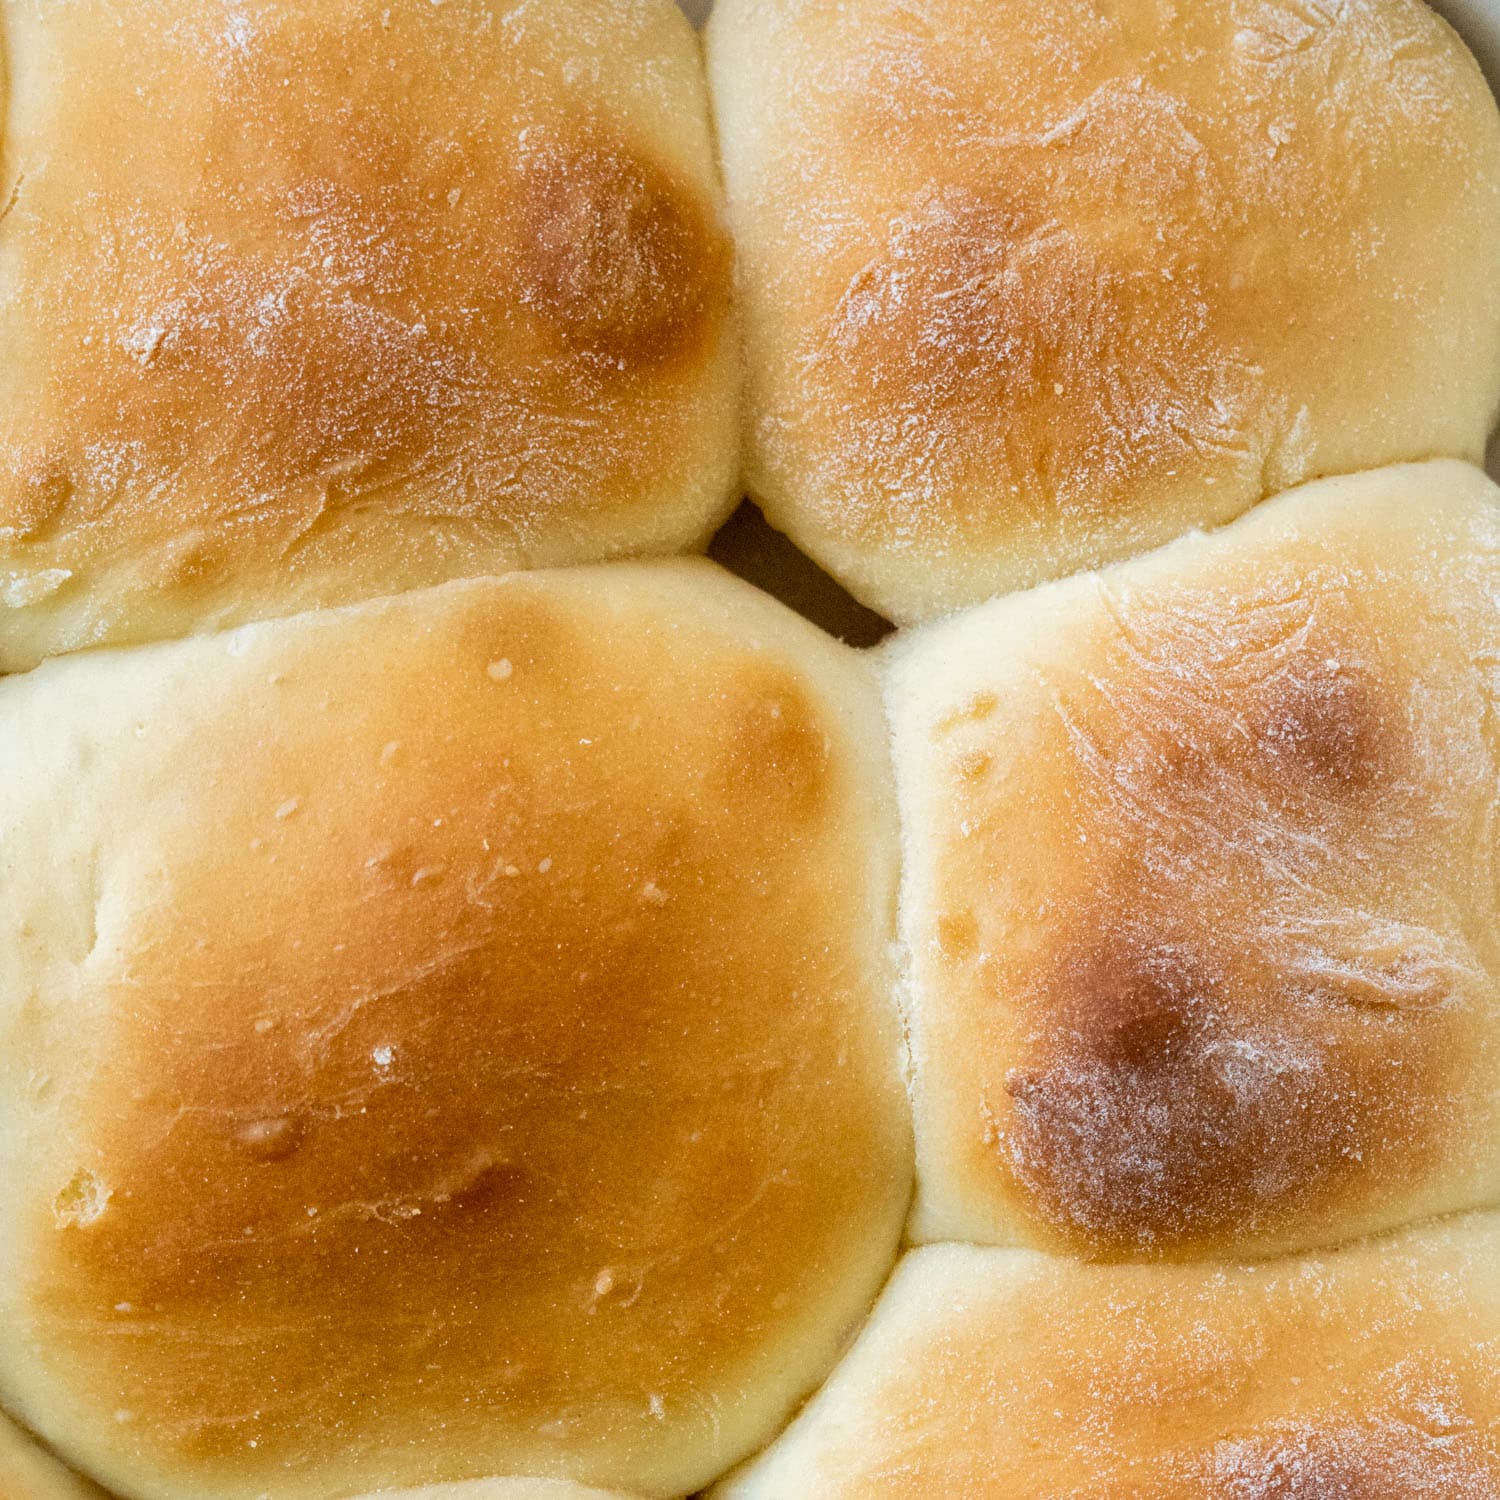
For many, the allure of King's Hawaiian rolls lies in their unique texture and distinct sweetness. But what if you could replicate that "taste of paradise" while also taking control of the ingredients? That's precisely what this recipe offers. Utilizing your bread machine simplifies the entire process, turning what might seem like a daunting baking task into an effortless joy. Whether you're looking for the perfect dinner roll, a base for delightful sliders, or even a starting point for sweet cinnamon buns, these homemade wonders are a game-changer. They deliver that iconic softness and slightly crisp golden-brown top, making them an instant family favorite you might find yourself baking weekly!
Why Your Bread Machine is the Key to Perfect Homemade Hawaiian Rolls
The idea of baking rolls from scratch might conjure images of flour-dusted countertops and endless kneading. However, with a bread machine, those concerns vanish. It's not just a convenience; it's a culinary partner that ensures consistent, delicious results every time. Here's why your bread machine is indispensable for crafting these incredible
bread machine sweet Hawaiian rolls:
- Unmatched Convenience: The bread machine handles the most labor-intensive parts of bread making – the kneading and the first rise (proofing). This frees you up to attend to other tasks, making baking a stress-free experience.
- Consistent Results: Bread machines provide a stable, controlled environment for dough development. This consistency is crucial for achieving the perfectly soft, fluffy texture that defines these rolls. No more guesswork or worrying about ambient room temperature affecting your dough.
- Beginner-Friendly: Even if you're new to baking, using a bread machine is remarkably straightforward. It demystifies the bread-making process, allowing you to achieve professional-level results with minimal effort.
- Less Mess, More Joy: Keep your kitchen pristine! All the sticky mixing and kneading happen contained within the bread machine pan, drastically reducing cleanup time. You'll spend less time scrubbing and more time savoring your delicious creations.
In essence, your bread machine acts as a dedicated sous chef, ensuring that your journey to a batch of homemade Hawaiian rolls is smooth, enjoyable, and rewarding. To truly unlock the full potential of your appliance for these delightful treats, you might find
Your Bread Machine for Fluffy Hawaiian Sweet Rolls: Taste Paradise an insightful read.
Crafting Healthier Hawaiian Rolls: The Ingredients That Make a Difference
The secret to replicating the distinctive flavor and texture of King's Hawaiian rolls lies in a few key ingredients, with pineapple juice being the star. When we talk about making them "healthier," it's less about drastic calorie reduction and more about choosing quality ingredients and controlling what goes in, eliminating the preservatives and artificial flavors often found in store-bought versions.
Here's a breakdown of the essential components and how to approach them for a superior, more wholesome roll:
- Pineapple Juice: This is non-negotiable for that signature tangy sweetness. The reference context wisely advises using store-bought pineapple juice over freshly squeezed. The consistency and specific acidity of canned/cartoned juice seem to work best for this recipe. Tip: A 20-ounce can of pineapple chunks in juice often provides the exact amount of juice needed, plus a tasty snack! For a healthier edge, opt for unsweetened or 100% juice varieties to control the added sugar.
- Melted Butter: Melted butter adds richness and contributes to the rolls' tender crumb. Always melt it before adding to the bread machine pan, as directed. Using high-quality butter (e.g., grass-fed, if available) can subtly enhance the flavor and provide better fats.
- Flour: While all-purpose flour works wonderfully for the classic soft texture, consider using unbleached all-purpose flour for a slightly healthier choice. For an added boost of fiber and nutrients, you could experiment with substituting a small percentage (e.g., 1/4 to 1/2 cup) of whole wheat pastry flour, though be mindful that too much whole wheat can alter the signature fluffiness.
- Sugar: The sweetness is crucial, but you have control. Granulated sugar is standard, but you can slightly reduce the amount compared to some conventional recipes or choose organic cane sugar. The "healthier" aspect here comes from knowing the exact amount and avoiding high-fructose corn syrup.
- Yeast: Active dry yeast or instant yeast will work. Ensure your yeast is fresh for a good rise.
- Milk: Whole milk contributes to richness, but 2% or even a non-dairy milk alternative (like almond or soy milk) can also be used if preferred, potentially slightly altering the texture but still yielding delicious results.
- Salt: Essential for flavor balance and yeast activity.
By carefully selecting your ingredients, you're not just baking rolls; you're crafting a nutritious, preservative-free treat that's infinitely better than anything from a package.
Your Step-by-Step Guide to Irresistible Bread Machine Sweet Hawaiian Rolls
Making these rolls is surprisingly simple, thanks to your bread machine. The key is to follow the ingredient order specified by your machine's manufacturer, as this can vary. The order listed below is a common and highly effective sequence.
1.
Prepare Your Ingredients: Measure all ingredients precisely. Melt your butter and let it cool slightly. Ensure your pineapple juice and milk are at room temperature.
2.
Load the Bread Machine: Place the ingredients into the bread machine pan in the following order (or as specified by your machine):
- Liquids first: Pineapple juice, milk, melted butter.
- Dry ingredients next: Sugar, salt, flour.
- Yeast last: Make a small well in the center of the flour and add the yeast there, ensuring it doesn't directly touch the liquids or salt initially.
This layering helps prevent the yeast from activating prematurely.
3.
Select the Setting: Choose the "Dough" or "White Bread Dough" setting on your bread machine. This cycle typically includes kneading, rising, and sometimes a second punch-down, preparing the dough perfectly for shaping.
4.
Dough Check (Optional but Recommended): After the first 5-10 minutes of kneading, open the lid and check the dough's consistency. It should form a smooth, elastic ball that's slightly sticky but not overly wet. If it seems too dry, add a teaspoon of pineapple juice or milk; if too wet, add a teaspoon of flour.
5.
First Rise Complete: Once the bread machine cycle finishes, you'll have a beautifully risen, soft, and pliable dough.
6.
Shape the Rolls:
- Lightly flour a clean surface. Gently remove the dough from the bread machine pan.
- Divide the dough into equal-sized pieces. For standard dinner rolls, aim for 12-16 pieces. You don't need to be perfect; slight imperfections will disappear as the rolls rise.
- Roll each piece into a smooth, round ball.
- Arrange the dough balls in a greased 9x13-inch baking pan, leaving a small space between them.
7.
Second Rise: Cover the pan loosely with plastic wrap or a clean kitchen towel and let the rolls rise in a warm place for about 45-60 minutes, or until they have doubled in size and are noticeably puffy. This is where the magic happens, as the rolls transform from small balls to their final, cloud-like form.
8.
Preheat Oven & Bake: Preheat your oven to 375°F (190°C). Bake the rolls for 15-20 minutes, or until they are beautifully golden brown on top.
9.
Cool and Serve: Remove from the oven and let them cool in the pan for a few minutes before transferring them to a wire rack to cool completely. While tempting, cooling allows the texture to set perfectly.
Serving Suggestions & Storage for Your Homemade Treasures
Once your
bread machine sweet Hawaiian rolls are baked and cooled, the possibilities are endless!
- Classic Dinner Rolls: Serve them warm with a generous pat of butter. Their natural sweetness complements almost any meal.
- Irresistible Sliders: Their perfect size makes them ideal for mini sandwiches. Fill them with pulled pork, grilled chicken, or even vegetarian patties for a crowd-plepleasing appetizer or light meal.
- Sweet Breakfast Treat: Use them as a base for quick cinnamon rolls! Slice them horizontally, spread with cinnamon-sugar butter, roll them up, and bake.
- Dessert Delight: Split and fill with fruit and whipped cream for a simple, elegant dessert.
For storing leftovers, place them in an airtight container or cover tightly with plastic wrap at room temperature for up to 2-3 days. For longer storage, flash-freeze the cooled rolls on a baking sheet, then transfer them to freezer-safe bags. They'll keep well in the freezer for up to 3 months. To enjoy, simply thaw at room temperature or gently warm in the microwave or oven.
Ready to embark on more bread machine adventures? Explore
Easy Bread Machine Hawaiian Rolls: King's Sweet Rolls at Home for additional tips and inspiration.
Conclusion: The Joy of Healthier Homemade
There's something uniquely satisfying about recreating a beloved classic in your own kitchen, especially when you can make it healthier and more wholesome. These
bread machine sweet Hawaiian rolls are a testament to that joy. They deliver all the fluffy texture and sweet, tangy flavor of their famous counterparts, but with the peace of mind that comes from knowing every ingredient. With your bread machine as your trusty assistant, you'll find yourself whipping up batches of these delightful rolls with ease, bringing a taste of paradise and the comforting aroma of fresh bread into your home more often than you ever thought possible. So, go ahead – indulge in the homemade difference!