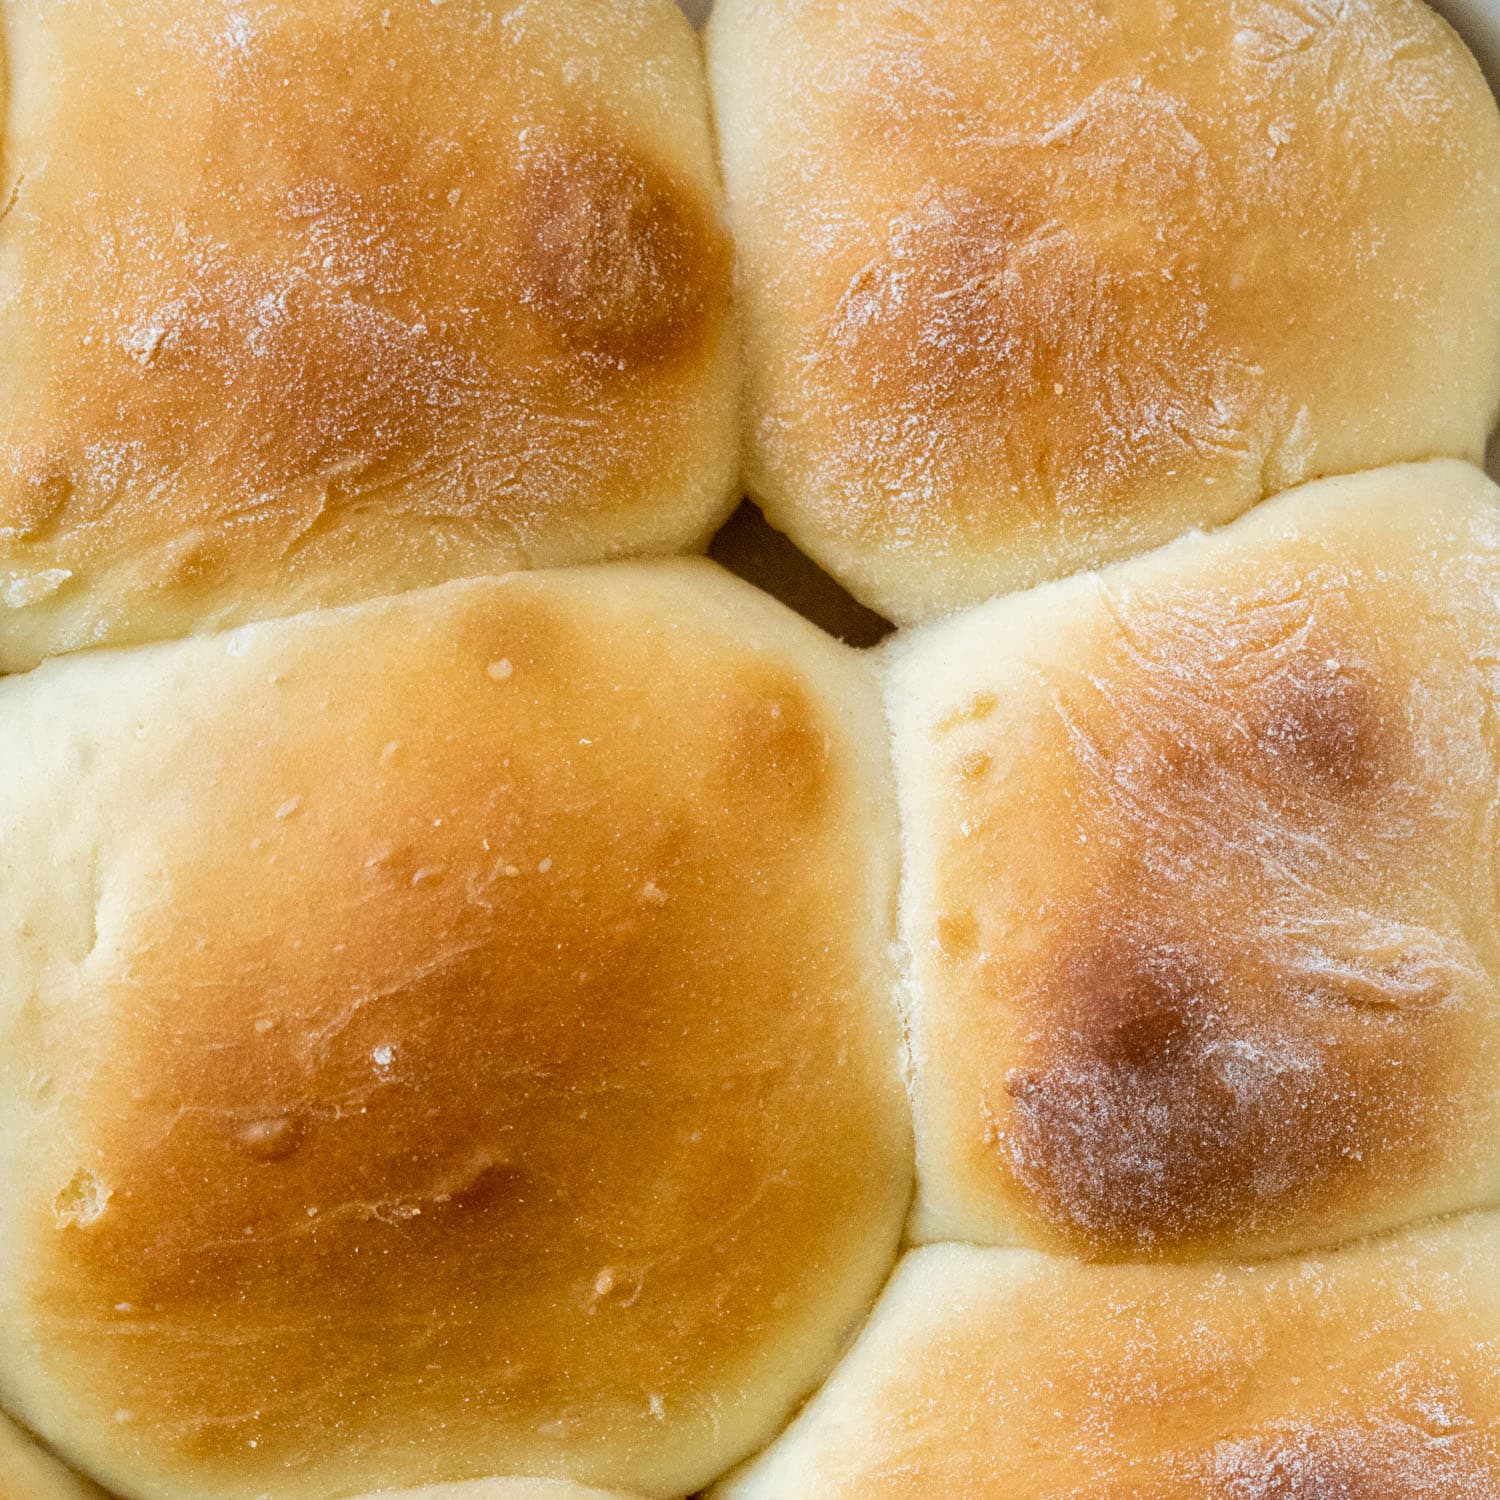
Imagine the soft, pillowy texture, the subtle sweetness, and that unmistakable hint of tang that transports you straight to a sun-drenched Hawaiian beach. If you're a fan of King's Sweet Hawaiian Rolls, prepare to embark on a culinary journey that brings that tropical paradise right into your kitchen. Thanks to the magic of your bread machine, crafting these delectable treats is not only possible but incredibly easy. Say goodbye to store-bought and hello to warm, fluffy Hawaiian sweet rolls straight from your oven!
Why Your Bread Machine is the Secret to Perfect Hawaiian Rolls
For many home bakers, the thought of making yeast rolls from scratch can be intimidating. The kneading, the proofing, the waiting – it all seems like a significant time commitment. This is precisely where your bread machine shines as an indispensable kitchen ally, especially when it comes to creating these delightful bread machine sweet Hawaiian rolls. Here’s why it’s a game-changer:
- Unmatched Convenience: The bread machine takes over the most laborious steps: kneading and the initial rise (proofing). This frees up your hands and your time, allowing you to focus on other tasks while the machine works its magic. You simply add ingredients, press a button, and let it do the heavy lifting.
- Consistent Results, Every Time: Bread machines provide an optimal and consistent environment for dough development. The precise temperature control and timed kneading ensure your dough is always perfectly worked and proofed, leading to reliably soft and fluffy rolls batch after batch. This consistency is crucial for achieving that signature King's Hawaiian texture.
- Beginner-Friendly: Even if you've never baked bread before, using a bread machine is straightforward. It eliminates the guesswork involved in traditional baking, making it accessible to bakers of all skill levels. There's no need to worry about over-kneading or under-proofing; the machine handles it all.
- Minimal Mess: One of the often-overlooked benefits is the reduction in cleanup. The bread machine contains the entire kneading process, preventing flour dust and sticky dough from spreading across your countertops. Your kitchen stays cleaner, making the baking experience even more enjoyable.
By leveraging your bread machine, you're not just making bread; you're making the process of creating amazing homemade sweet rolls incredibly simple and stress-free.
Mastering the Ingredients for Authentic Flavor
The secret to truly capturing the "King's Sweet Roll" essence in your bread machine sweet Hawaiian rolls lies in understanding a few key ingredients and how they contribute to the final product. While the list is simple, these small details make a big difference:
- Pineapple Juice – Canned is Key: This is arguably the most crucial ingredient for that authentic Hawaiian tang and sweetness. While fresh pineapple juice might sound appealing, for this recipe, store-bought, canned pineapple juice is preferred. Why? Canned juice often has a more consistent acidity and sweetness profile, along with enzymes that are either denatured or less active than in fresh juice, which can sometimes interfere with gluten development. A handy tip: a 20-ounce can of pineapple chunks in juice typically contains the exact amount of juice you'll need for this recipe, plus you get a tasty snack!
- Melted Butter: Don't just toss in cold butter cubes. Melting the butter before adding it to your bread machine ensures it's evenly incorporated into the dough. This contributes to the rolls' incredibly tender crumb and rich flavor.
- Flour Power: All-purpose flour works wonderfully for these rolls, providing a light and airy texture. For an even chewier, slightly more substantial roll, you could experiment with bread flour, which has a higher protein content.
- Sugar and Yeast: The sugar isn't just for sweetness; it also feeds the yeast, encouraging a robust rise and contributing to that beautiful golden-brown crust. Ensure your yeast is fresh and active for optimal results. Instant yeast is usually fine to add directly with other dry ingredients, while active dry yeast might require proofing in a small amount of warm liquid first, depending on your bread machine's instructions.
- Salt: Essential for flavor balance and controlling yeast activity. Don't skip it!
Always remember to place ingredients into your bread machine pan in the order specified by your machine's manual. While most recipes suggest liquids first, followed by dry ingredients, and then yeast last (to prevent premature activation), checking your specific model's instructions is always the safest bet for perfect easy bread machine sweet Hawaiian rolls.
From Dough to Golden Glory: A Step-by-Step Guide
With your ingredients ready and your bread machine eager to work, the journey from raw components to golden, fluffy homemade Hawaiian rolls bread machine style is surprisingly straightforward. Here’s how to ensure perfection:
1. The Bread Machine Cycle:
Carefully add all your ingredients to the bread machine pan in the order recommended by your manufacturer. This typically means liquids (like the melted butter and pineapple juice) first, followed by dry ingredients (flour, sugar, salt), and finally the yeast, nestled in a small well on top of the flour. Select the "WHITE BREAD" or "DOUGH" setting on your bread machine. The "DOUGH" cycle is usually preferred as it completes the kneading and first rise, leaving you with perfectly proofed dough ready for shaping and baking.
2. Preparing the Dough for Shaping:
Once the bread machine cycle is complete, carefully remove the dough. It should be soft, elastic, and slightly tacky. Place it on a lightly floured surface. Avoid adding too much extra flour, as this can make your rolls tough. Gently knead it a few times to release any large air bubbles and form it into a cohesive log.
3. Shaping Your Rolls:
Divide the dough into equal-sized portions. For standard dinner rolls, aim for 12-16 pieces, each weighing approximately 2-2.5 ounces. The easiest way to do this is to cut the log into equal pieces, then gently roll each piece into a smooth ball. Don't worry if they're not perfectly uniform at this stage; slight imperfections will disappear as they rise. Arrange the dough balls in a greased 9x13 inch baking pan, leaving a little space between each roll for expansion.
4. The Second Rise:
Cover the baking pan loosely with plastic wrap or a clean kitchen towel and let the rolls rise in a warm, draft-free place for about 45-60 minutes, or until they are visibly puffy and have nearly doubled in size. This second proofing is crucial for achieving that characteristic light and airy texture.
5. Baking to Perfection:
Preheat your oven to 350°F (175°C). For an extra golden-brown crust and a beautiful sheen, you can brush the tops of the risen rolls with an egg wash (one egg beaten with a tablespoon of water or milk). Bake for 15-20 minutes, or until the tops are golden brown. Keep a close eye on them, as oven temperatures can vary.
6. Cool and Serve:
Remove the rolls from the oven and let them cool slightly in the pan before transferring them to a wire rack. While they are tempting to eat immediately, allowing them to cool slightly helps them set and retain their soft texture. Serve warm with a dab of butter or your favorite spread.
Beyond the Dinner Table: Creative Ways to Enjoy Your Rolls
While these bread machine sweet Hawaiian rolls are undeniably perfect as a standalone side for any meal, their inherent sweetness and soft texture make them incredibly versatile. Don't limit yourself to just dinner rolls!
- Sliders Extravaganza: Their small size and slightly sweet profile make them the ultimate slider bun. Think mini pulled pork sandwiches, ham and Swiss, or even unique creations like grilled pineapple and teriyaki chicken sliders. They hold up beautifully to various fillings and add an extra layer of flavor. For more ideas on healthier homemade options, check out our article on Bread Machine King's Hawaiian Rolls: Healthier Homemade Recipe.
- Sweet Breakfast & Brunch Treats: Transform your leftover rolls into delectable breakfast items. Slice them horizontally, spread with cream cheese, and top with fresh berries for a quick sweet bite. Or, for an indulgent treat, slice them, brush with melted butter, sprinkle with cinnamon sugar, and bake for a few minutes to create irresistible mini cinnamon rolls.
- Dessert Delights: Don't overlook their potential as a dessert component. Split them, fill with ice cream and a drizzle of caramel, or use them as the base for mini fruit tarts. Their sweetness makes them a natural fit for a variety of sweet applications.
- Savory Pairings: Beyond sliders, these rolls pair wonderfully with hearty stews, chili, or alongside a roast chicken, providing a delightful contrast to savory dishes. The subtle sweetness balances richer flavors beautifully.
Leftover rolls can be stored in an airtight container at room temperature for 2-3 days, or wrapped tightly and frozen for up to a month. To revive, simply defrost in the microwave or warm gently in the oven.
Making your own King's Sweet Hawaiian Rolls at home with a bread machine isn't just about baking; it's about bringing a taste of paradise to your everyday. The ease, the aroma, and the undeniable deliciousness of these homemade rolls will quickly make them a staple in your kitchen. So, gather your ingredients, fire up your bread machine, and get ready to enjoy the softest, sweetest, most satisfying rolls you've ever made. Your taste buds (and your family) will thank you!
